Post Processing
So the saying goes: “The Camera Never Lies”. Well yes, in some ways that is true. The sensor of the camera stores the information that has been projected onto it through the lens into a file . Only once we have downloaded that file and loaded it into a graphics editor can we start adding the Lies. The formal name for this is Post Processing, but, these days, we would more than likely just call it Photoshopping.
To avoid appearing unnecessarily contentious I will continue this post using the terms “Adjustments”, “Changes” or “Alterations” instead of “Lies” .
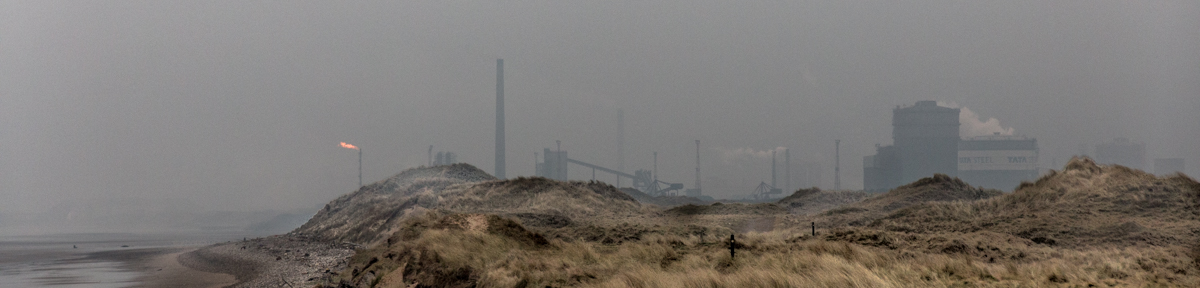
I went down to Cardiff Bay – always a good place for a walk and plenty of different things to see and take pictures of – the weather was cold and a little misty. Mist is better than fog for taking pictures in but not as good as a clear day. With lots of bright cloud reflecting light and some dark shadows I decided to use bracketing to take my shots.
[For those not in the know, Bracketing is the process of taking three photos – usually in quick succession; one using the camera’s recommended settings, one underexposed, and one overexposed. These 3 pictures can then be combined afterwards to make the most of the details found in each – the overexposed shot will contain usable details in the darker areas and the underexposed shot will contain usable details in the lighter areas. The act of combing these together is known as HDR (high dynamic range) imaging.]
Ideally I would be using a tripod for this process to ensure the same area is captured in each shot, however I was travelling light so I didn’t have that luxury. It was a bright day so a fast shutter speed could be obtained and the camera could be set to continuous drive – post processing can sort out the rest…
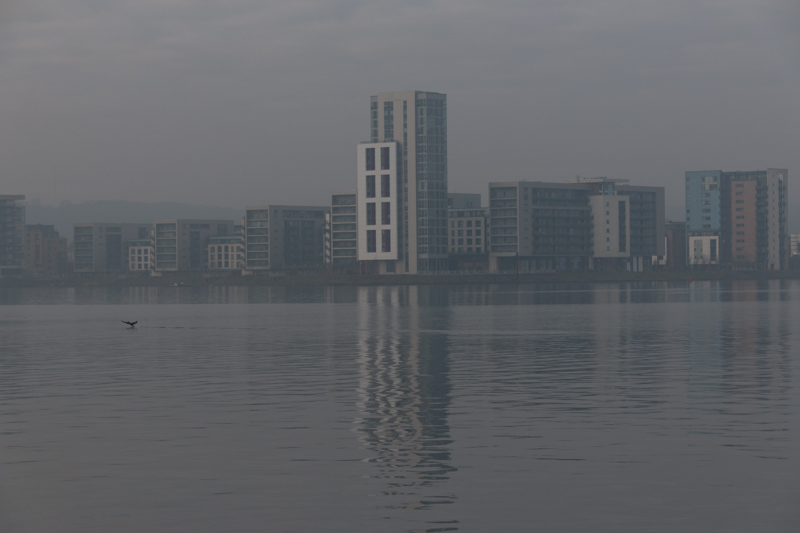
This was how the image came out of the camera (plus one darker and one lighter) – it’s hazy, a little dark and there are various birds/bits of rubbish floating on the water. BUT, it has a lovely reflection in the water and the group of buildings is quite striking. The main building in the centre is, I believe, called Pendeen House.
I take pictures in RAW format – this collects much more data than JPG and, arguably, I could get away without using the bracketing, but the additional shots gave me greater flexibility. As always, I start by importing my files into Lightroom and tagging them with a suitable keyword – in this case “Cardiff Bay” is enough. If I wanted to be more pedantic I could add “Cardiff”, “Wales”, “UK”, “Landscape”, etc, etc.
Lightroom has a quite useful option available in the most recent versions – Photo Merge. This will merge together a series of pictures either as a Panorama (if you moved the camera along after each shot) or HDR – which I used in this instance. The HDR wizard gives a few choices for the user to choose from before processing and then produces a new file (hopefully) combing the best elements from each of the bracketed shots.
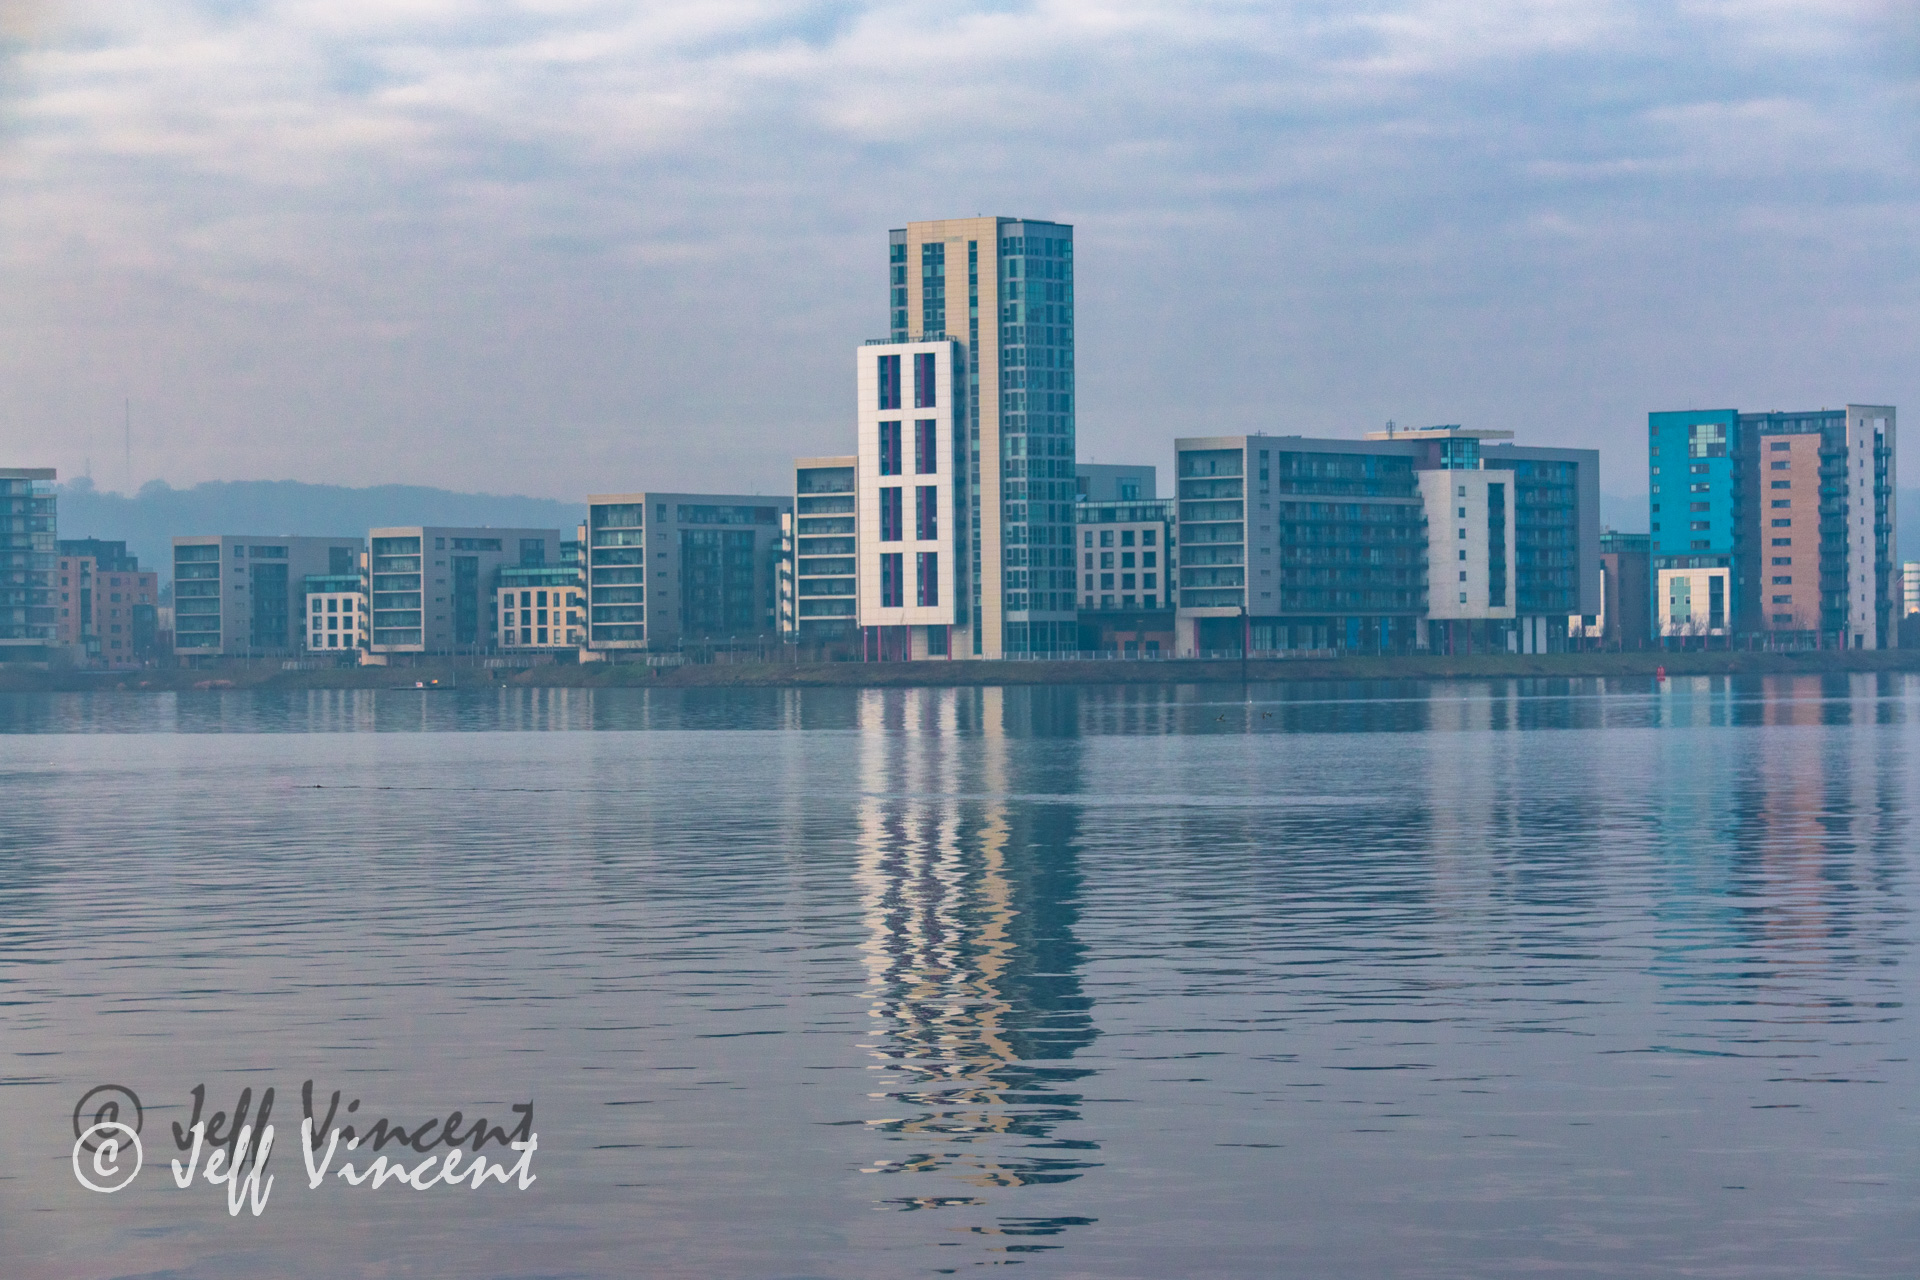
The results can then be further adjusted manually in Lightroom. I removed some of the debris / birds from shot using the spot removal tool and adjusted the tone curve to improve the Lights and Shadows. This is the point where Lightroom is good – you can push sliders back and forth until you get the look you want. In addition to the changes to the Tone Curve I often play with luminence and saturation sliders for each colour and maybe push the clarity a little.
I rarely print pictures, but I’ve found that what looks good for a projected image doesn’t always work on a printed format. The good thing with Adobe Lightroom is that you can just create a virtual copy of the picture, reset it and then start again with changes and alterations suited to the printed format.
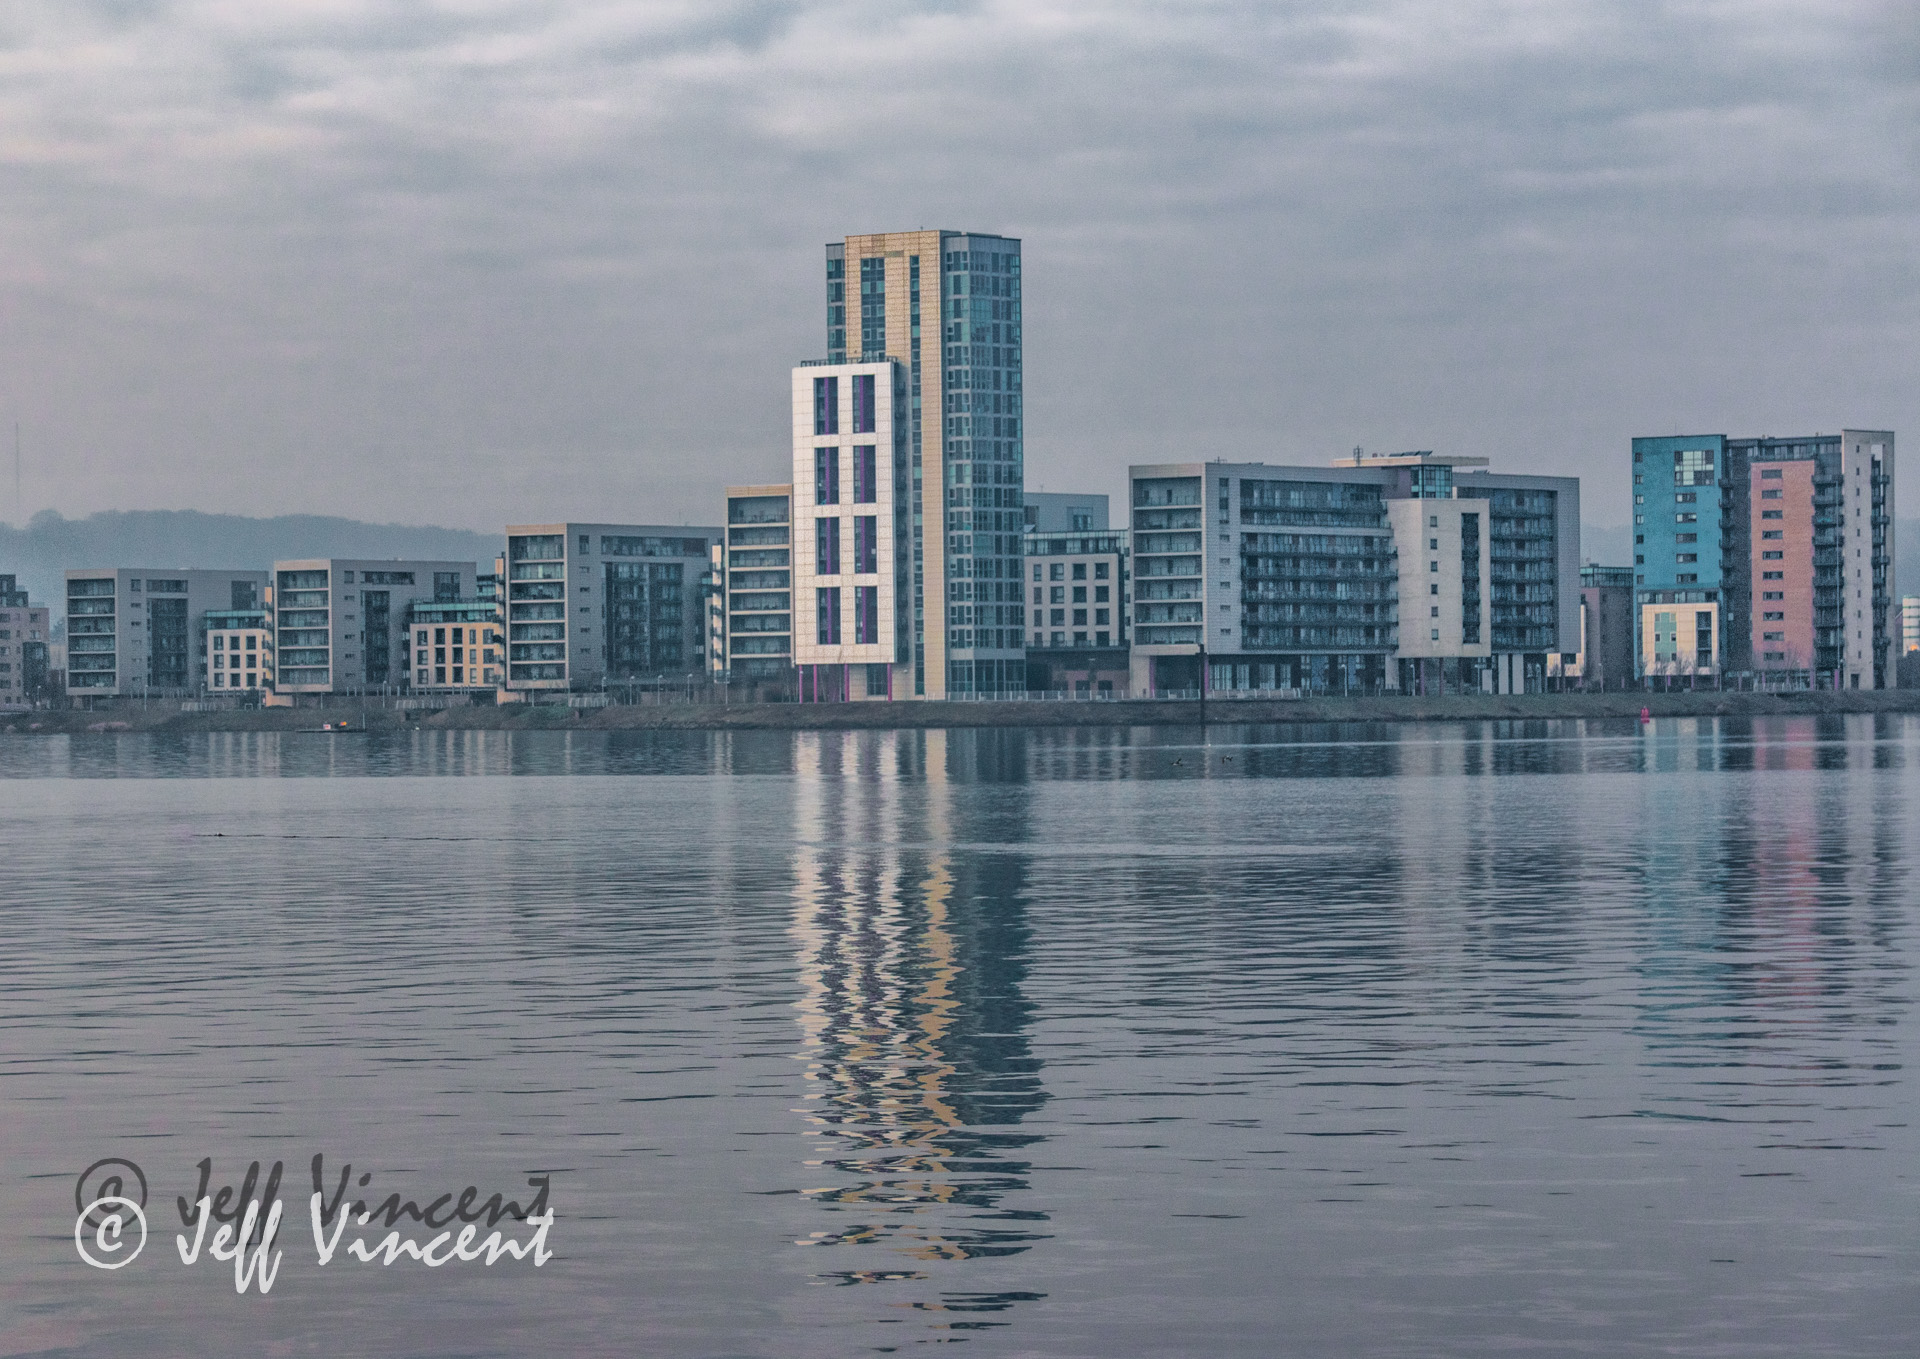
It was nice, but I felt it needed a bit more punch, so I opened it up in Color Efex Pro 4. This is part of the Nik Collection which is now free to download. There is no excuse for not having this series of plugins, if you don’t have them, get them now!
By creating a series of linked control points across the centre of the shot I was able to adjust the Details Extractor to give a better definition to the buildings. Using this app will create an additional file in the TIF format – these can be quite large (even more so than the RAW ones!) so be prepared to start using up large amounts of disk space if you use the Nik Collection a lot. Then back into Lightroom for a few adjustments and cropping and the final result:
Happy with that, I posted it onto Flickr to share with my Camera club colleagues and anyone else searching for Cardiff Bay related pictures. Someone Favorited it within a few seconds – always pleasing 🙂
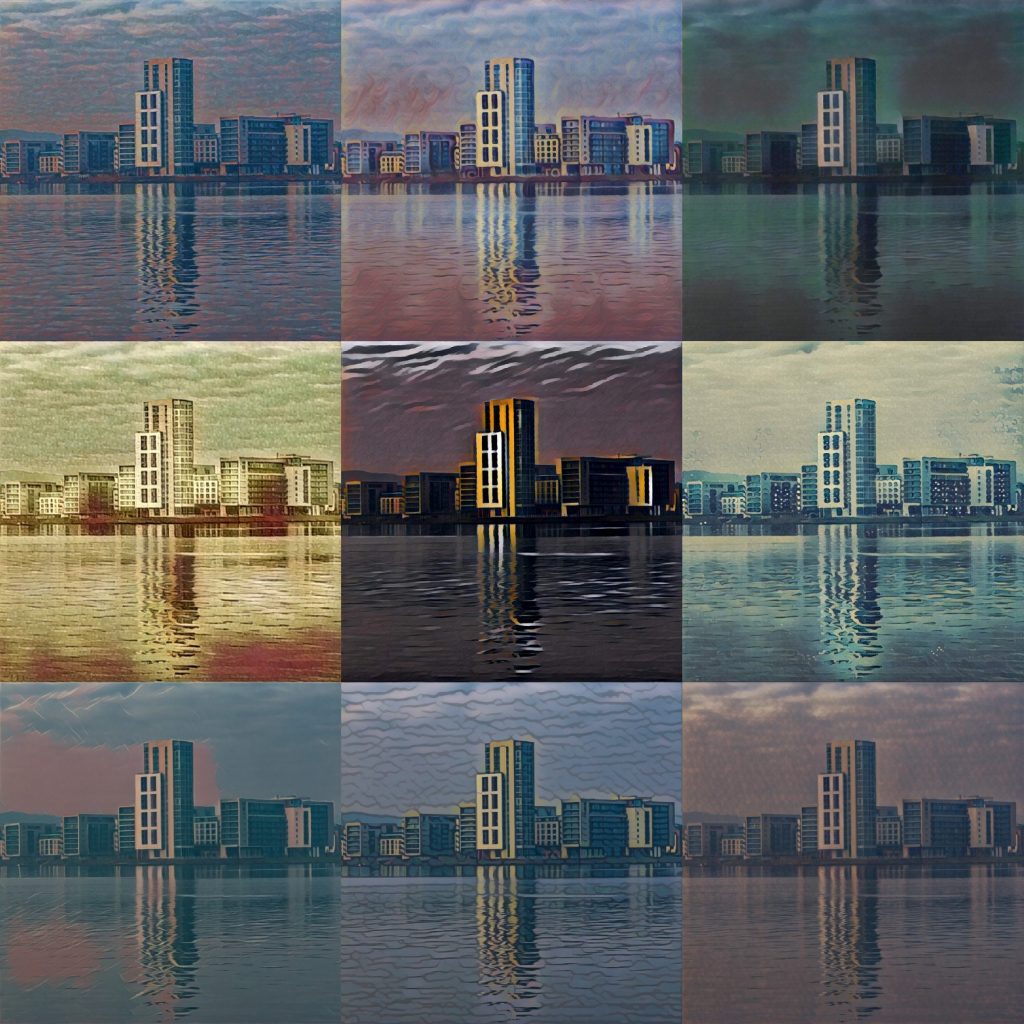
… and just to finish off the Post Processing I loaded a copy onto my phone and put it through a few different filters on the Prisma App. Posted one to Twitter – a quick Like and a Retweet followed quite quickly, again always a pleasure to receive unsolicited adulation 🙂
[onebox url=”https://helpx.adobe.com/lightroom/how-to/hdr-merge-for-high-contrast-scenes.html” title=”Create detailed, high-contrast HDR images with Lightroom”]
[onebox url=”https://www.youtube.com/watch?v=oalNkt7UKuI” title=”Nik Collection – Color Efex Pro 4 – Overview”]
[onebox url=”http://prisma-ai.com/” title=”Prisma App “]